Do you find occasional salon trips for fancy manicures pricey? Would you like to explore a new and alternative method at home?
Fashion is not just about clothes, jewelry, and makeup; it has even spanned to nails, which can give a youthful appearance to your look. When it comes to trends in nails, gel polish has gained immense popularity.
People are investing in gel nail polish shades rather than regular ones due to their practical, long-lasting, and glossy nature.
So, if you want to get salon-quality nails at home with gel polish, here’s a step-by-step guide to perfect the art of manicure.
Tools Required for Salon-Quality Nails at Home
To get the desired results, you need to invest in some tools discussed below.
For nail prepping, you require the following:
- Nail filer
- Primer
- Cuticle remover
- Cuticle pusher
Here are further supplies you need to get the end results:
- Buffer
- Cleanser
- Lint-free wipes
- Primer
- Base coat
- Desired color top-quality gel polish
- Topcoat
- LED or UV cure lamp
Step-by-step Guide to Get Perfect Glossy Gel Nails
Ready to elevate the look of your regular nail polish?
Here are some simple steps outlined to help you achieve gorgeous, chip-free, and tidy gel nails.
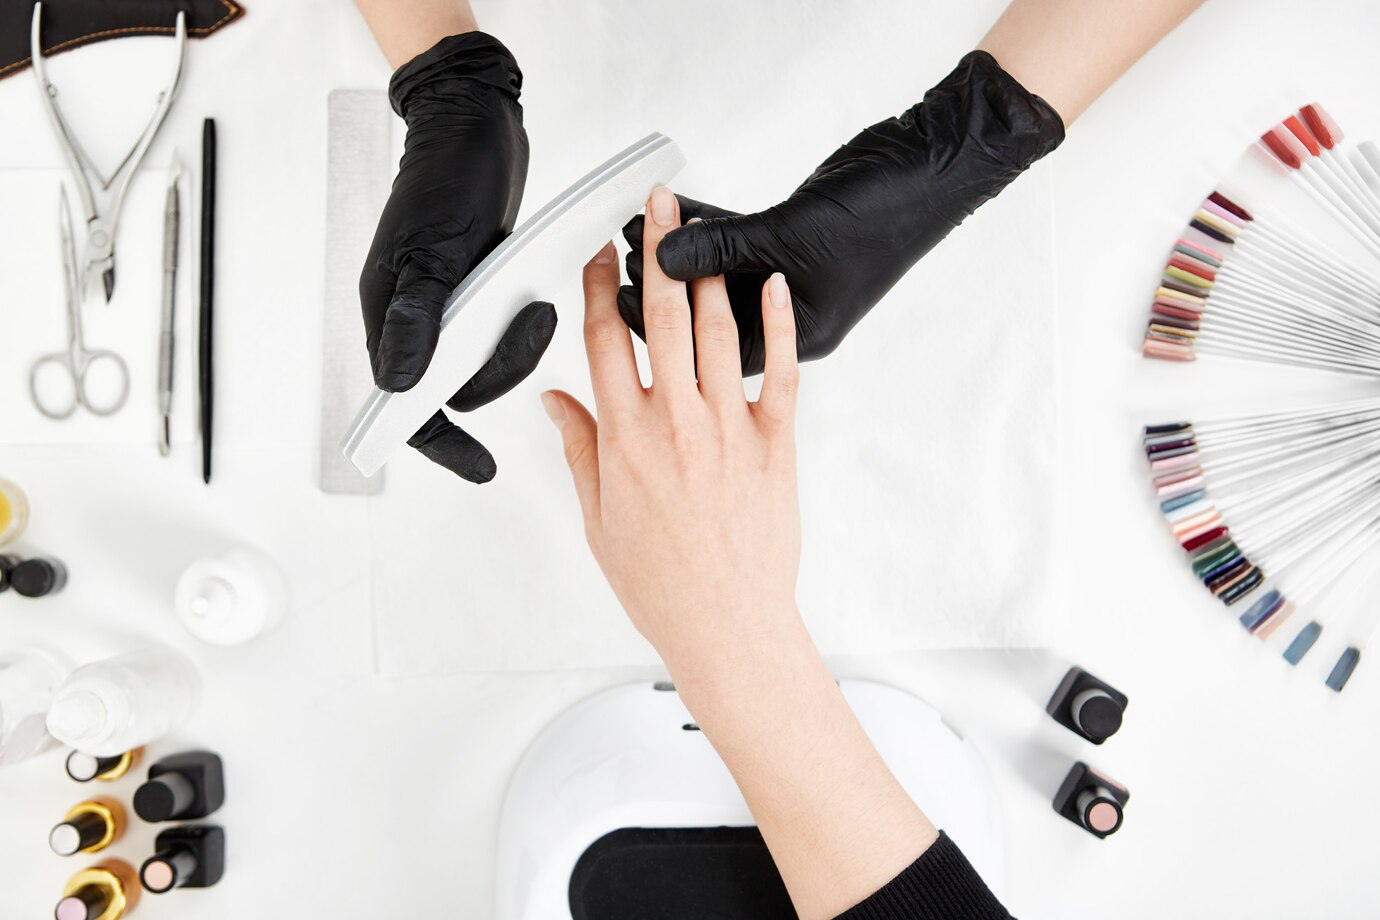
Step 1 – Filing and Shaping
- Start by prepping your nails using a nail filer.
- Cut extra lengths, trim them and shape the free edges to your desired length and shape, such as almond, oval, round, square, etc.
- Well-manicured nails with clean edges give you a better adhesion for further top gel coat.
Step 2- Use a Cuticle Pusher
Use a cuticle pusher or orange wood stick, which is a manicure tool, to gently push back the cuticles for more surface. This approach can make your nails appear longer and the manicure more aesthetically pleasing
Step 3- Clean the Nails
- Once filed, cleanse your nails to remove any oil or dirt. Buff your nails to get rid of ridges. This will make the nail slate clean and smooth and prep the nails for layers of applications. Make sure to buff the entire nail plate from edge to edge, especially near the cuticle.
- You can use acetone before applying the base coat and remove the nail paint you have previously applied to create an extra cleaner nail bed.
- The acetone withdraws the remaining oils and residues for a clean surface before gel polish is applied.
Step 4 – Prime
A primer can be used at the very start of your gel nail manicure. It is applied to each nail for better adhesion and longer-lasting gel manicures.
Plus, it helps to increase the adhesion between the gel polish and the nail, ultimately resulting in a long-lasting manicure.
Step 5- Applying Gel Base Coat
Apply a thin layer of base coat with gentle strokes, covering the whole nail bed. Be sure not to apply too much of layers of it. Cure it under a UV lamp for 30 seconds or as recommended in the instructions.
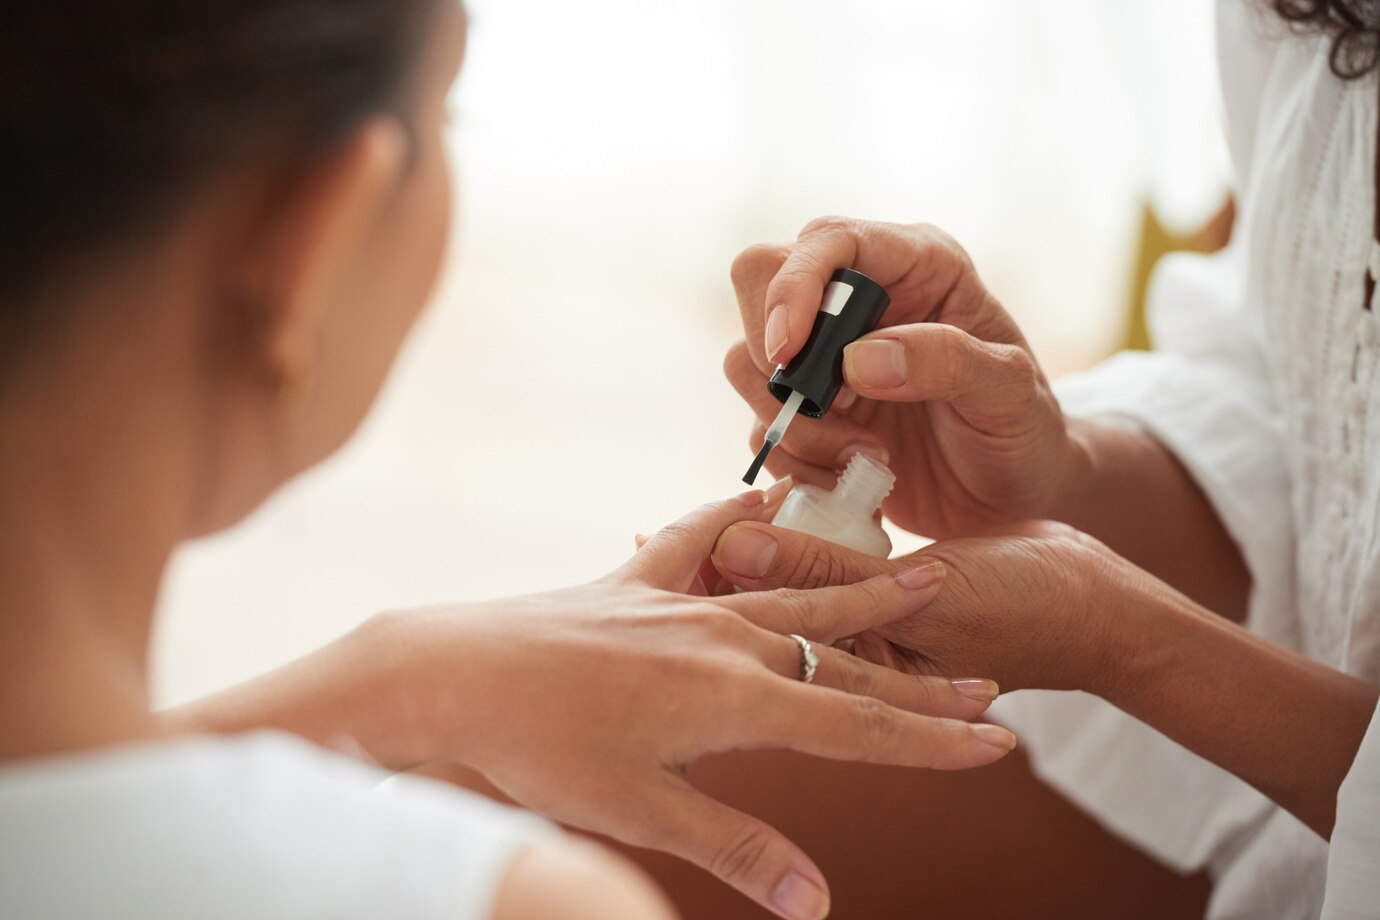
Step 6- Get Ready to Pop Some Colors into Nails
Now, to the fun part!
Paint a layer of your preferred nail color and turn the base coat into a vibrant color. No one enjoys the sticky, dusty appearance, so make sure that no dust or debris gets trapped on the surface.
Step 7- Applying Topcoat
Time to apply the topcoat!
Add a layer of topcoat and wipe off any excess polish on the skin. It will protect the gel polish from chipping and give you a glossy, shiny finish. Paint over the slate, just like you did with gel polish.
Once again, repeat the process by curing it under UV lights for 2-3 mins.
Step 8 -Cleanse and Moisturize
Once you are done with the whole process, you will feel tack and a little stick in and around your fingernails. To remove this, dip the lint-free wipes or cleansing pad into acetone and gently blot the top of each nail.
Step 9 – Moisturize Cuticles with Cuticle Oil
To get a flawless, elegant look, immediately apply cuticle oil to nails and cuticles. Remember to give proper care to gel polish to make your manicure look neat and last as long as possible. Flaunt your fingernails carefree and wherever you want.
Steps To Easily Remove Nails at Home
Has your polish started chipping off while working out or doing dishes?
Save yourself from the hassle of going to the salon by removing the polish off your hands by following this method:
- Start by dipping each piece of cotton pad in acetone properly.
- Once the cotton has soaked enough acetone, put it on top of each of the fingernails.
- The next step is to wrap each of the tips into a small piece of aluminum. Keep doing the same for the rest of the fingers.
- Wait for 10 –15 min.
- After 10-15 minutes, remove the foil from fingernails. Once removed, you will see the polish looks bubbly and brittle.
- Finally, with an orangewood stick, gently push the gel polish off each nail and get clear and clean nails.
Conclusion
To get salon-quality nails at home, follow the steps mentioned above. From prepping the nails to adding a variety of shades, this is an expeditious, time-saving, and cost-effective treatment.
For the latest updates and information, keep checking SimpCity.